If you spend a lot of time on your front porch or back patio, there are a few factors that could force you to retreat in the house. One of these is problem insects, like mosquitos, bees, gnats, and the like. With these swarming around, it makes it difficult to relax or eat in peace. Another is the weather.
If a rainstorm comes through, there is nothing to keep you protected from the rain or windblown debris. To get the most out of your porch or patio, the best thing to do is to install screen all around the area! Using a screen porch kit, you can make your porch or patio much more hospitable for you, your family, and guests.
Relaxing during the week or entertainments on the weekend will feel much more exciting with the addition of a screened in porch or patio. The directions below are for porches and patios where wooden frames have already been constructed and are ready to be fitted with window screens.
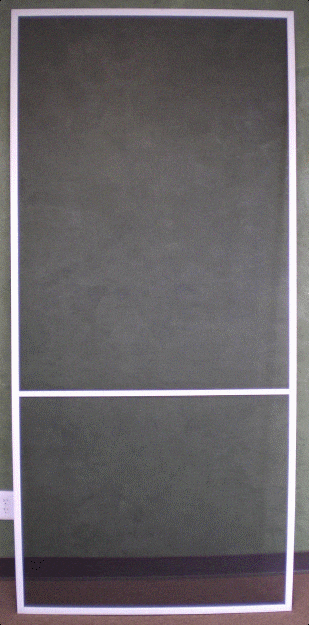
If you don't have time or simply do not wish to assemble your own screen frames, you can find finished patio and porch screen panels that will easily install in the wooden frame enclosure. Otherwise, follow these directions to assemble your window screens.

Here's what you'll need to get started:
- Window screen
- Screen spline
- Spline roller
- Cap strips
- Tape measure
- Base strips (cut to size)
- Wood/drywall screws
- Power drill
1. Choose Window Screen
You may need to choose a screen mesh depending on your specific needs. Many go with fiberglass because it’s affordable and performs well in high traffic areas. If insects are your main concern, aluminum will be the better choice. There also exists pet-resistant screen if you have a household with energetic dogs. Perform a little research to choose the right window screen.
Note that the type of screen you choose will determine the type of screen spline you need.
2. Base Strip Installation
If you had old screens in place, remove them and any other hardware. If you’ve just built your framework, go ahead and install the base strips on the wooden frame. Drill the strips in with 1” drywall or wood screws here. The strips should touch at the corners.
3. Install Window Screen
To attach the window screen to the base strips, you'll use a screen spline. These work to use the screen mesh into the base strips’ groove for a tight fit.
Cut a piece of window screen that’s a little bit bigger than the intended opening. Use the spline tool to first install the screen to the top horizontal base. Then do the sides with the bottom last. The screen should be tight. It’s okay to remove the spline and rework the screen until it’s right! When you’re satisfied, remove excess screen with a utility knife or scissors.
Finishing Up
Cap strips are used to hide where the screen is attached to the base strips. Essentially, it masks the install, so the finished screen looks nice and clean. These can be installed by tapping them into place with a mallet. You should hear a snap when they’re in place.
These cap strips are easy to remove if you need to make adjustments or re-screen in the future.
To make this process faster, screen porch kits are ideal. They exist as the perfect bundle for specific needs and come with the precise amount of screen you need as well as the frame sizes, wire color, and hardware type needed to get the job done. The best thing about installing porch or patio screens is that you don’t need a professional’s assistance. That’s right!
Even for amateurs, installation can be completed by most anyone. You’ll be able to enjoy your porch or patio without the nuisance of pests and, even if it storms, you’ll be under cover and out of the way. You’ll also reap the benefits of screen’s ability to cut down on the sun’s glare, offer privacy, and keep pets from wandering out into your yard.
Window screens can be repaired and replaced in the future without much hassle. They’re a great investment and will easily heighten your enjoyment of your outdoor spaces!


